JSP and JavaBean
In this tutorial, we will see how a JSP interacts with a JavaBean. This helps to easily program and flexibly manage data at the server side.
- A JavaBean is just a standard Java class that:
- all properties are private (access by getters and setters)
- has a public no-argument constructor
- implements the java.io.Serializable interface
- Let's create a JavaBean named student as following.
- Open the jsplabs project created in previous tutorial.
- Right-click on the src folder, select New→Package. Name it as person.bean.
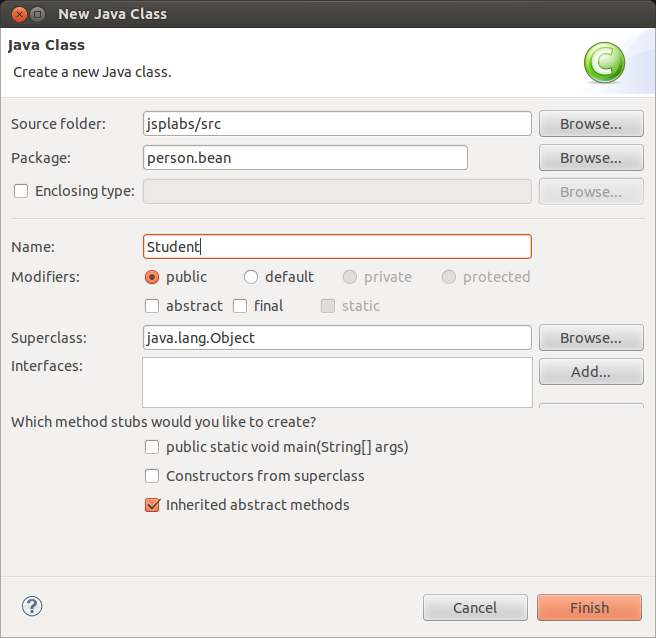
- Right-click on the person.bean package, select New→Class. Name it Student and click Finish.
- Replace the existing codes by the following:
package person.bean;

public class Student implements java.io.Serializable{
	private String firstName = null;
	private String lastName = null;
	private int age = 0;

	public Student(){}

	public String getFirstName(){
	      return firstName;
	   }
	   public String getLastName(){
	      return lastName;
	   }
	   public int getAge(){
	      return age;
	   }
	   public void setFirstName(String firstName){
	      this.firstName = firstName;
	   }
	   public void setLastName(String lastName){
	      this.lastName = lastName;
	   }
	   public void setAge(int age){
	      this.age = age;
	   }
}
- The class Student is a JavaBean. Now we creates a JSP to interact with this bean.
- Right click on the WebContent folder, select New→JSP file.
- Name it bean.jsp and click Finish.
- JSP use tags: useBean to instantiate a bean, getProperty and setProperty to get and set bean's properties.
- For example, insert the following codes between the <body> tags.
<jsp:useBean id="student"
                    class="person.bean.Student">
   <jsp:setProperty name="student" property="firstName"
                    value="Zara"/>
   <jsp:setProperty name="student" property="lastName"
                    value="Ali"/>
   <jsp:setProperty name="student" property="age"
                    value="10"/>
</jsp:useBean>

<p>Student First Name:
   <jsp:getProperty name="student" property="firstName"/>
</p>
<p>Student Last Name:
   <jsp:getProperty name="student" property="lastName"/>
</p>
<p>Student Age:
   <jsp:getProperty name="student" property="age"/>
</p>
- Save the file.
- Run it by right clicking on it then selecting Run As→Run on Server. Select Finish.
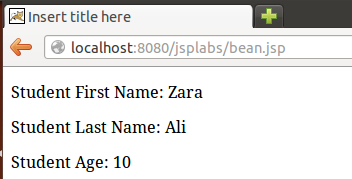
- The student's name and age will be presented on your web browser at the URL: http://localhost:8080/jsplabs/bean.jsp
Exercises
- Add a function getFullName() in the JavaBean Student. Then modify the bean.jsp file to show the full name of the current student.
- Modify the bean.jsp file to set and get bean properties (firstname, lastname, age) based on request's parameters.
