Table of Contents
Designing and running the "Request for absence" workflow
In this tutorial, we will design a simple workflow which presents a “Request for abscence” process. Then we deploy and run it.
Designing your own organization
- Before designing your processes, you have to define your own organization to which your processes belong. So you should define the groups, roles and individual users in your organization.
- Launch Bonita Studio. On the left, a project called MyProject is created by default. Also, a template organization called ACME is predefined by Bonita community. Add your own organization by clicking on Organization→New.
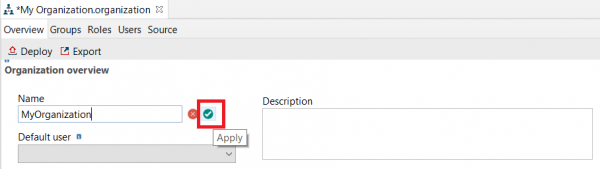
- Click on the Pencil icon and change the name to MyOrganization, then click on the Apply icon to save it.
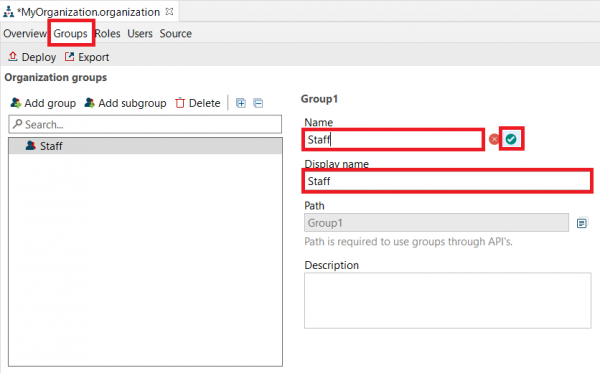
- Go to the tab Groups and click on Add Group to add a new group to your organization and change the Name and Display name to Staff. Make sure to save your changes by clicking on the Apply icon.
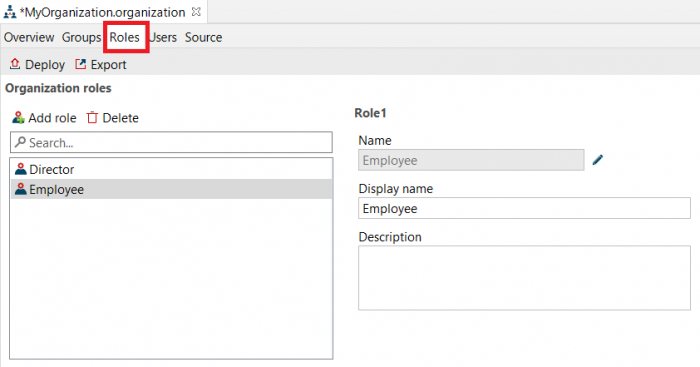
- Go to the tab Roles and click on Add role to add a new role. Change the Name and Display name to Director.
- By the same way, add the role Employee.
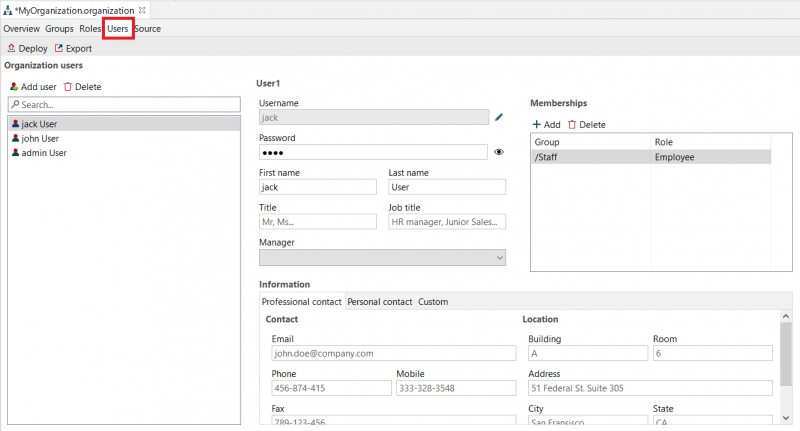
- Now it's time to add the individual users in your organization and map them to your defined group and roles. Go to the tab Users, click on Add User and change the Username and Password to admin. Fill the First name to admin and Last name to User. Then, in the Memberships tab, click on Add and map the user to Staff group and Director role.
- By the same way, add the users john and jack members of Staff group and Employee role.
- Now, its time to deploy your designed organization. Click on Organization→Deploy. Select MyOrganization. The default username that will be used to log in to Bonita portal is admin (Note that this user must be defined in your organization). Then Deploy.
- If your organization is successfully deployed, click on Server→Open Portal to test your access to bonita portal as the admin user. This is your bonita inbox where you can manage your tasks, cases and applications.
- In the portal page, click on admin User then Sign out and let begin designing the Request for absence workflow!
Designing the workflow
- In Bonita Studio click on the tag New→Process Diagram to create a new process.
- Bonita creates the initial process with the Pool pool, Employee lane lane, Start1 event, and the Step1 activity.
- Click on Pool. In the General menu, click on Pool and edit the name to Request for absence process.

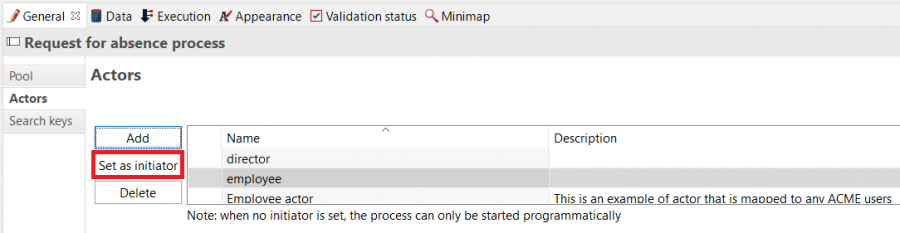
- Click on Actors and add the actors director and employee for your process.
- Click on employee, then Set as initiator.
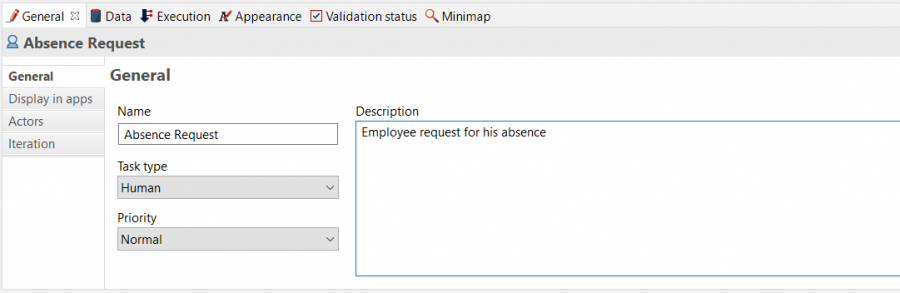
- Click on Step1 activity. In the General menu, change the name to Absence Request. Set other fields as following:
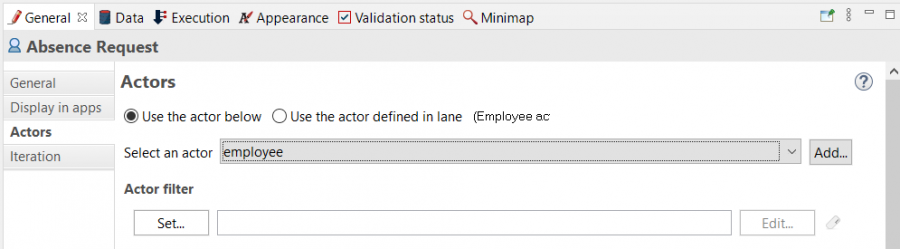
- In the Actor menu, select Use the actor below and select employee from the list.
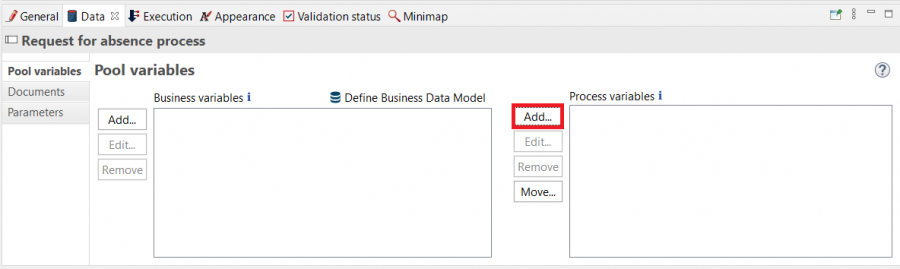
- The data of this step include information about the employer, reasons for absence and the absence date. This information will be sent to the director board. Therefore, it should be the global variable of the process. Click on Pool, select the Data menu. Click Add button to add Process variables.
- Fill to the dialog box like this and click Finish&Add.
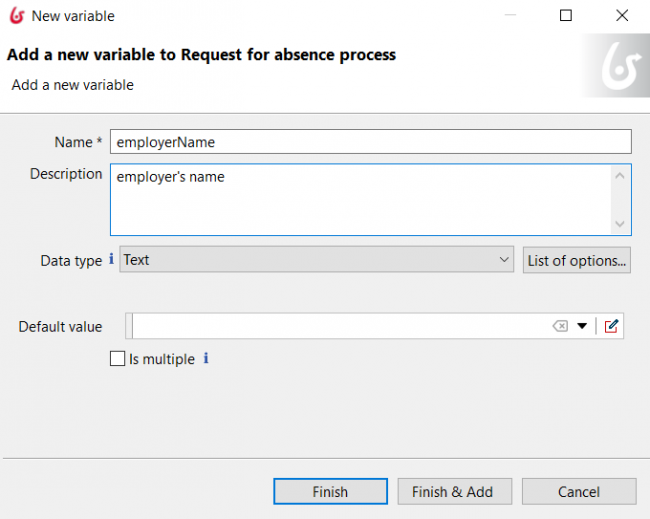
- By the same way, add another variable called reason with the Description “reasons to absence” and Data type is “Text”.
- Create the next variable called dateToAbsence with the Data type is “Date” and the default value is Now and click Finish.
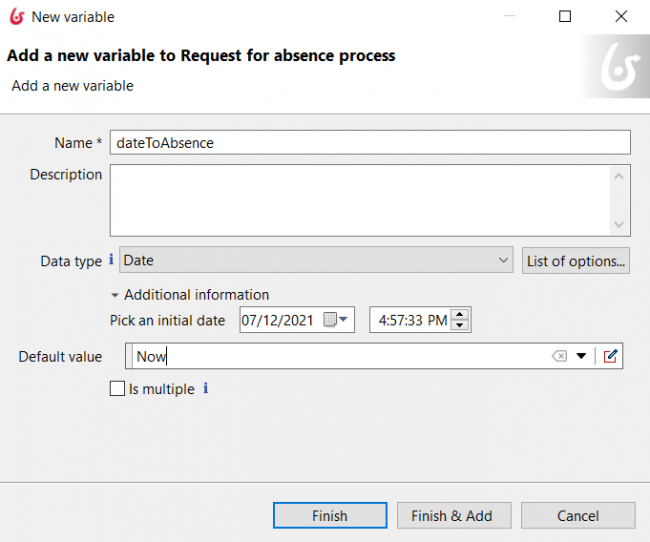
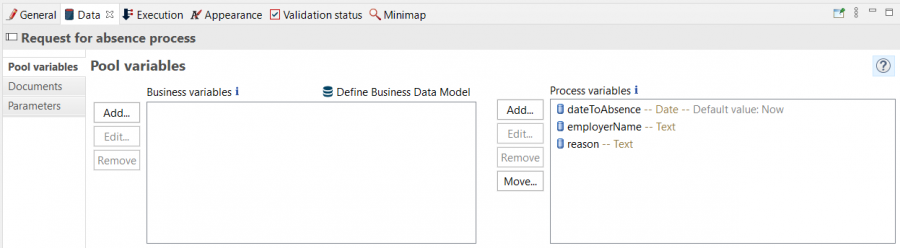
- Now, we have three global variables.
- Add new activity by selecting it from the Palette or clicking and dragging the activity icon from the “Absence Request” activity. Rename this activity to Director Decision and set the Activity type is Human.
- In the Actors menu, select Use the actor below and choose director from the list (remember to save your work after each modification).
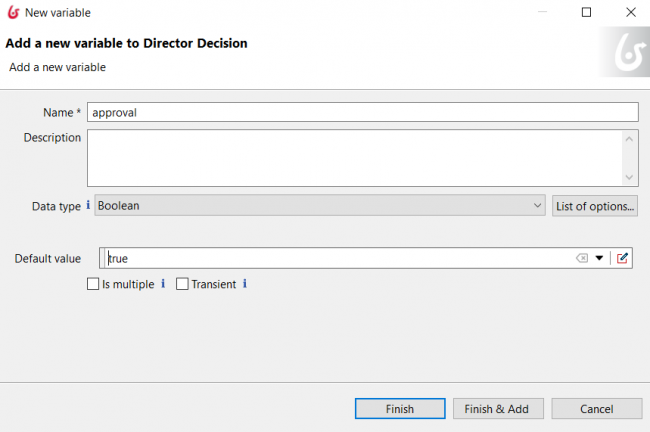
- Click on the Data menu. Add a local variable named approval with the Data type is Boolean and Default value is true.
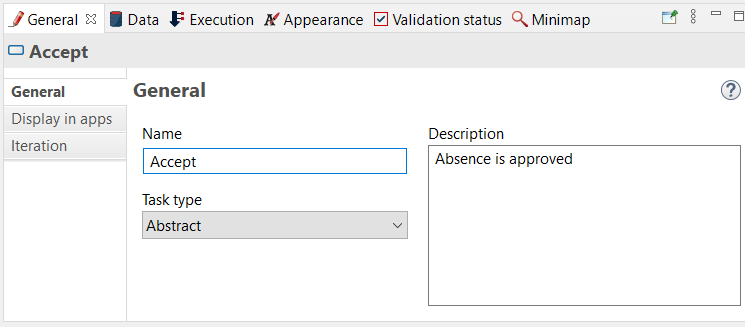
- Create an activity named Accept with the Description is Absence is approved and the Activity type is Abstract.
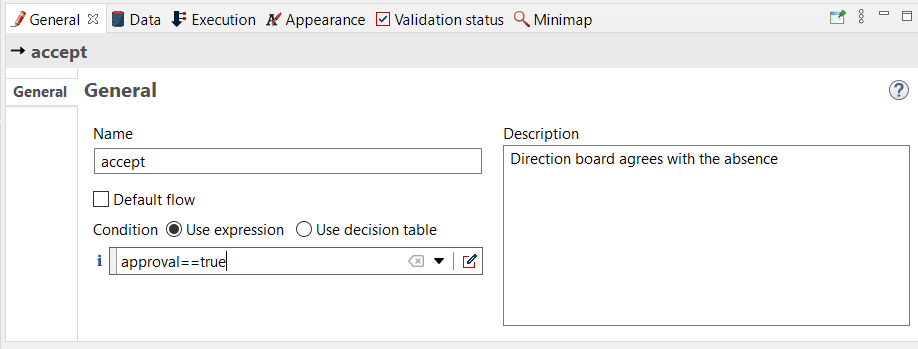
- Create a transition from the activity Director Decision to Accept named accept with the description Direction board agrees with the absence and the Condition is approval==true.
- By the same way, create an activity named Reject, Description is The absence is not accepted and the Activity type is Abstract.
- Create a transition from the activity Director Decision to Reject named reject with the Description is Direction board disagrees with the absence.
- Create an activity named Archive; the Description is The system records the transaction and the Activity type is Abstract.
- Create an End event, a transition from Accept to Archive, a transition from Reject to Archive and a transition from Archive to End.
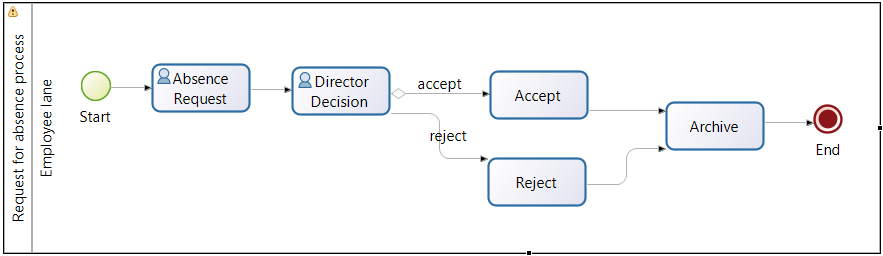
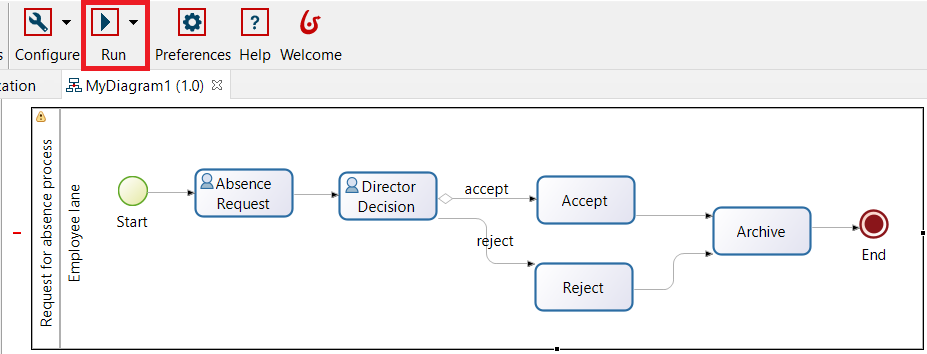
- Rename the Start1 and End1 events to Start and End and finally we have the process like the following:
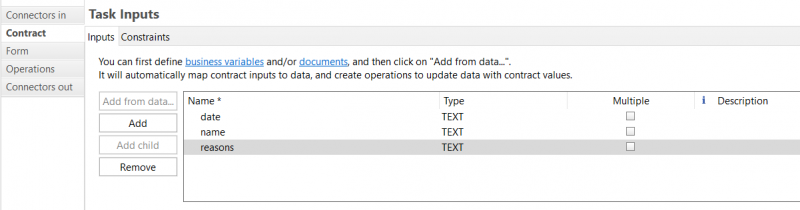
- At the Absence Request activity, we will design a simple form for submitting the date and reason to absence and the employer name. To do this, click on the activity, then Execution → Contract, then Add. Add three variables called date, name and reasons. These variables will contain the values entered by the employee in the form. They will be later assigned to the global variables dateToAbsence, employerName and reason.
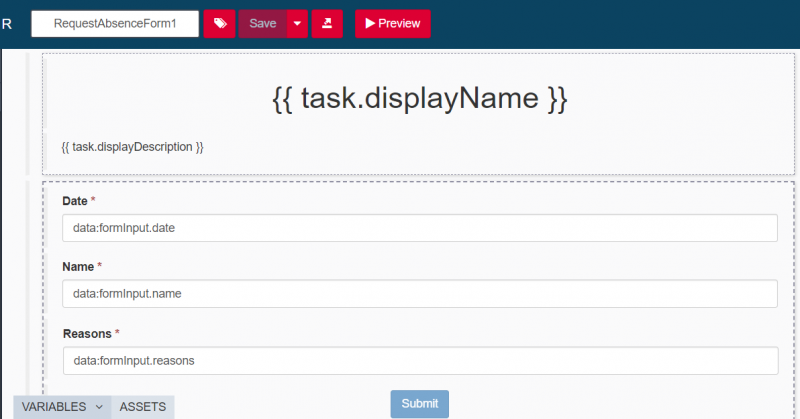
- Click on Form. Select UI Designer. In Target form select Create a new form

- Name the form as RequestAbsenceForm. You can see that you have three text fields automatically created with the same labels as the contract variables' names. The values entered by the employee will be assigned to the variables formInput.date, formInput.name and formInput.reasons which correspond to the contract variables you created in a previous step.
- Save and close the form.
- Click on Operations. Now we will assign the values of date, name and reasons to the global variables we created earlier dateToAbsence, employerName and reason. Click on Add and fill the parameters as shown in the figure below.

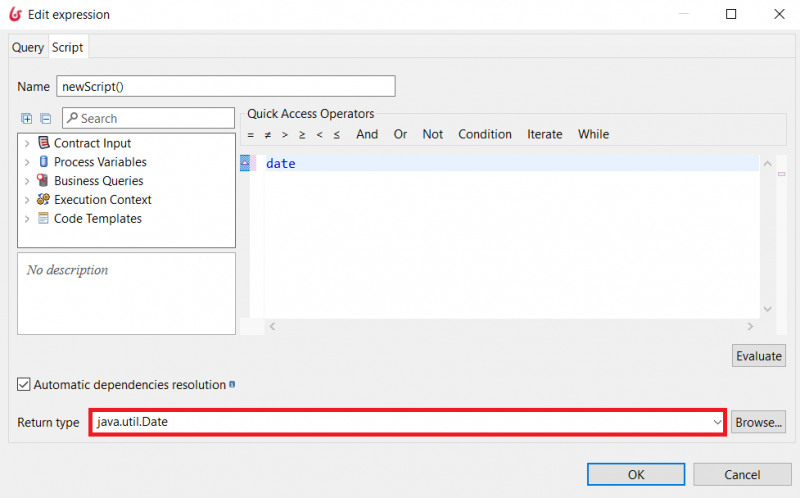
- We need to convert the type of the contract variable date from java.util.String to java.util.Date so that it will be compatible with the type of the global variable dateToAbsence. To do so, click on the Edit pencil to edit the variable date as follows.
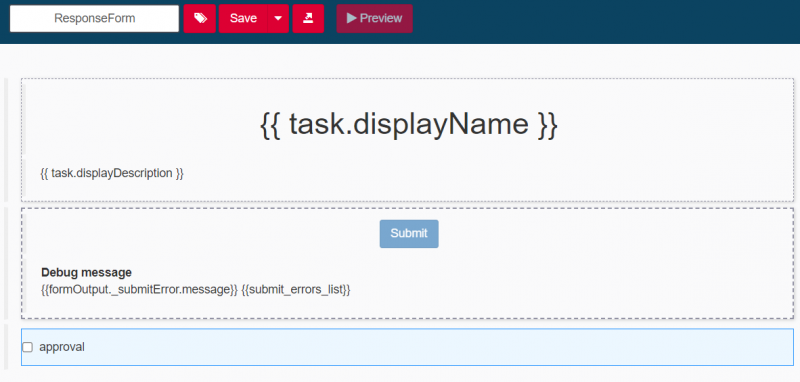
- Now, we add the form for the activity Director Decision. Select Director Decision, then Execution–>form. Select create a new form as you did in the previous steps. Name the form ResponseForm. Drag and drop the CheckBox widget. Click on it and in the right hand panel, enter approval for the label.
- Save the Diagram. Select the Pool and click on the tag Run to run the process.
- A pop-up window appears for mapping your process actors to your organization groups, roles or users. Click on Configure
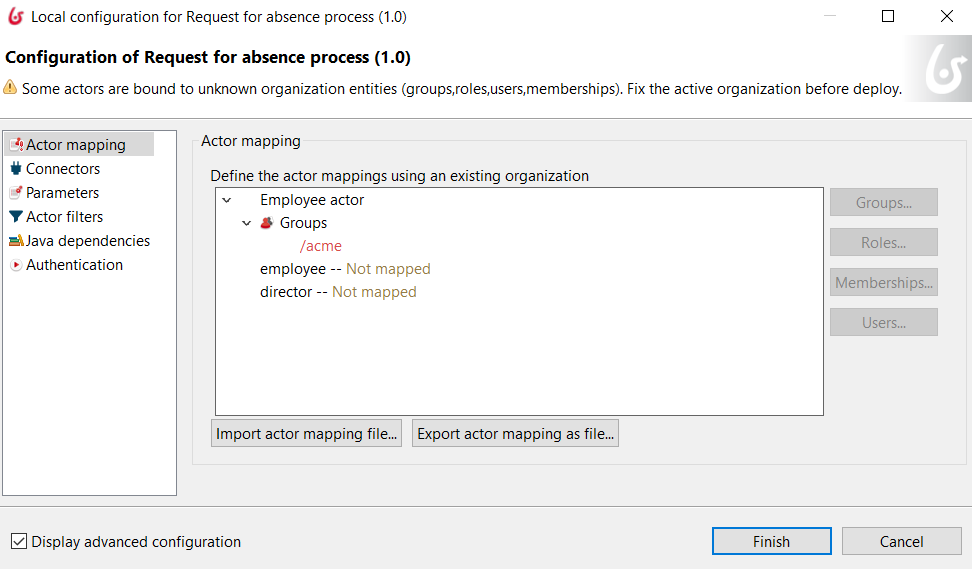
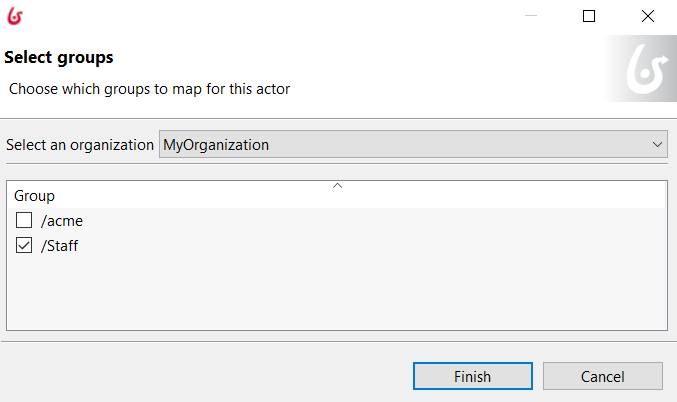
- Click on Employee actor, then click on Groups. Click on the button Groups and select MyOrganization and staff for Group, then Finish.
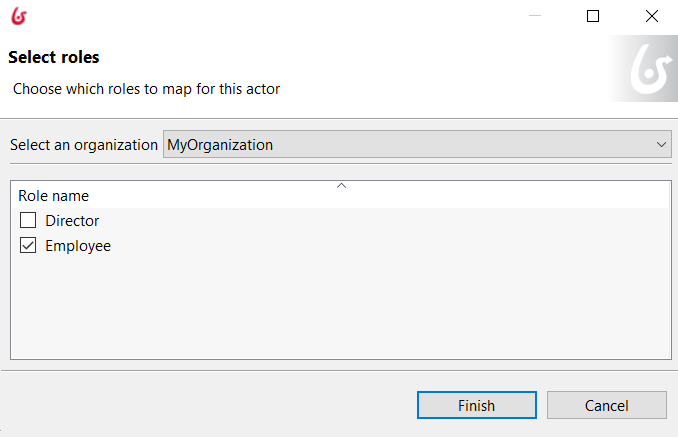
- In addition, click on Roles and select employee for role name. Click Finish.
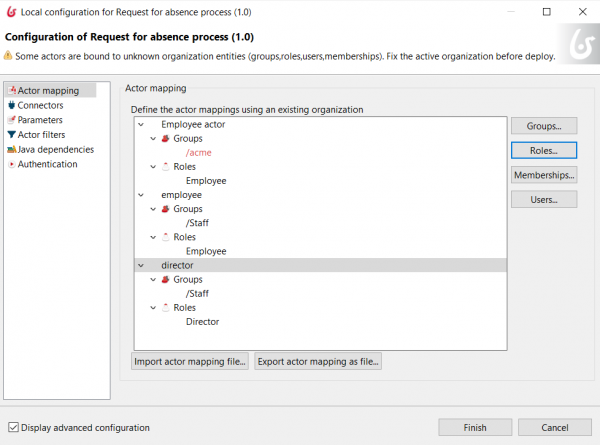
- By the same way, map the employee and director to staff groups and Employee and Director roles respectively. Click Finish.
- At the first step of the process, the form would be presented to the employee actor, but since you are logged in as admin, you can execute the process as an employee and director.
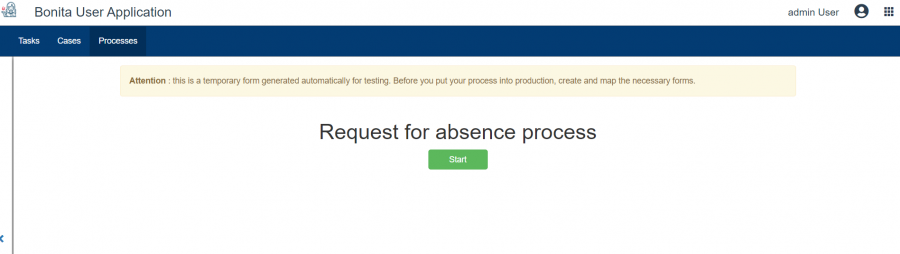
- The first page appearing is the global interface of the process. Click Start to pass to the first activity, which is the demand about the absence.
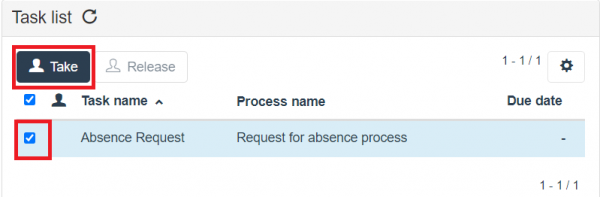
- Click on Absence request, then Take.
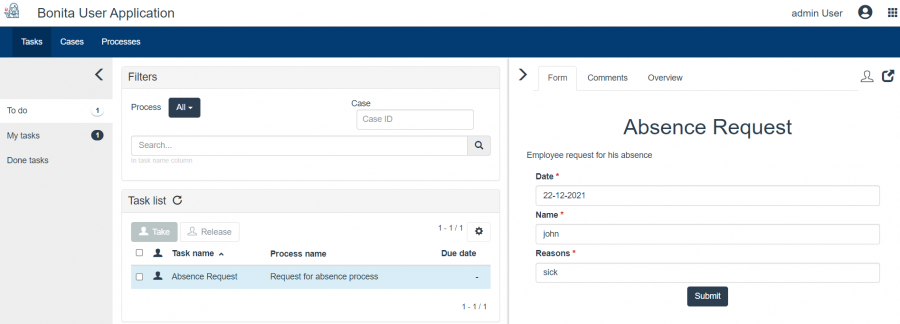
- Fill information and click submit.
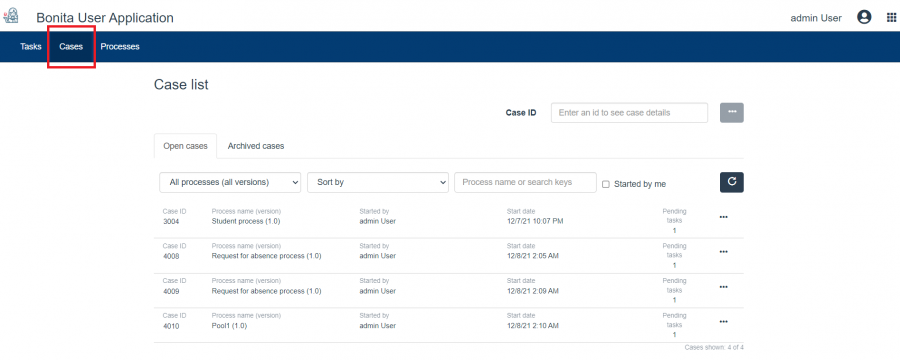
- Click on Cases to see the report of cases and actions.
Exercices
- Remove the variable date_to_absence and replace by two variables absence_from and absence_to. And run the process again.
- Re-create the process using pools and messages.
