Table of Contents
JAX-WS web service in OEPE: HelloWorld
In this lab, we are going to create a simple JAX-WS web service in OEPE and deploy it to a running server.
Create Enterprise Application Project
An EAR (Enterprise Archive) is an archive file to pack an enterprise application project. It can contain either one or more web modules; one or more EJB modules; one or more client application modules; additional JAR files required by the application or any combination of them. It also contains one or more deployment descriptors which located in the META-INF folder.
If you want to pack the JAX-WS into a single EAR file, you firstly create an EAR project, for example as the following. Otherwise, you can ignore this section and move to next section, create a Web service project without selecting Add project to an EAR.
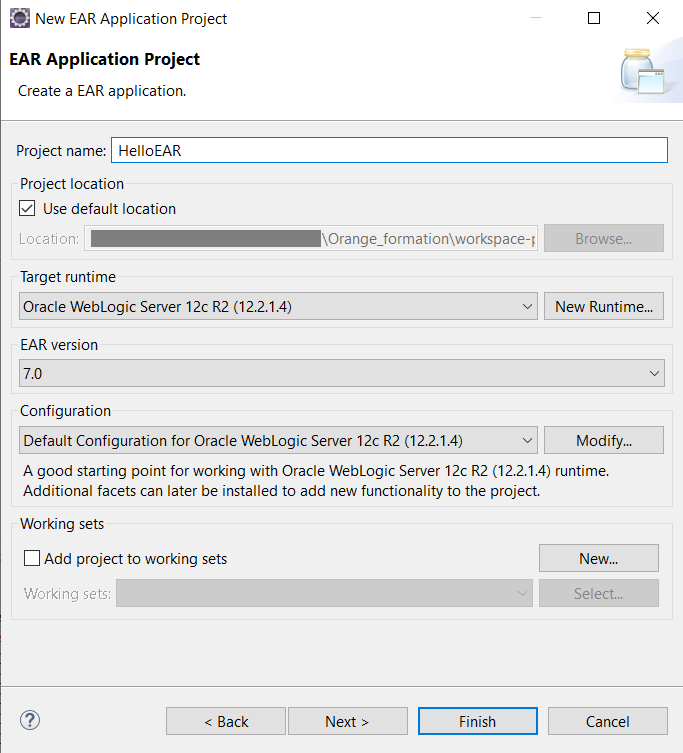
- File → New → Project → JavaEE → Enterprise Application Project. Click Next.
- Name the project as HelloEAR. Keep other defaul settings and click Finish.
Create Web Service
- File → New → Project → Oracle → WebLogic → Web services → Web Service Project. Click Next.

- Name the project as HelloWS. Select Add project to an EAR in the EAR membership and select HelloEAR.
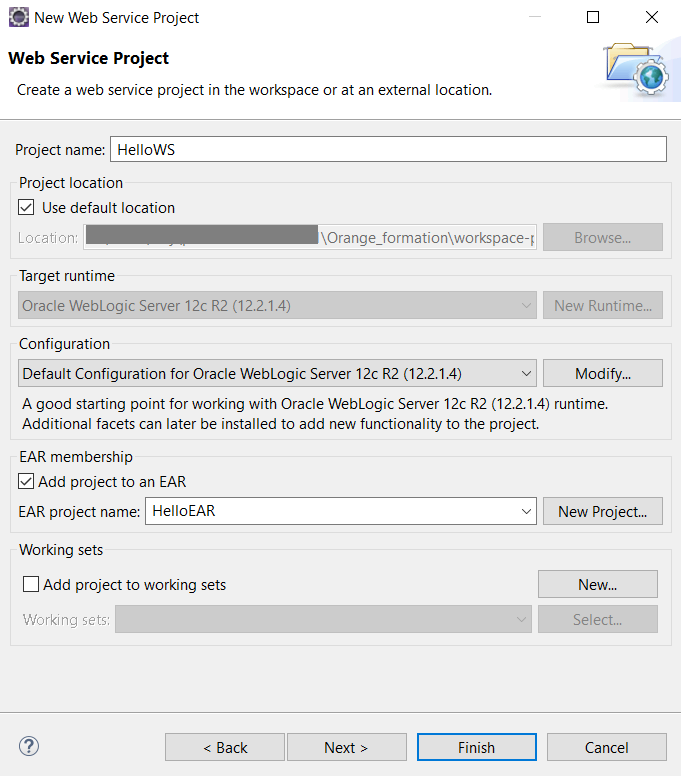
- Click Finish.
- Open the HelloWS project → Java Resources → src, create new package (Right click, New → Package) named: hello.ws.wlsa. Click Finish.
- Select the package, create new WebLogic Web Service Class, named HelloJaxWs. Click Finish.
- Save file.
Run the application
- Right click on the file, select Run → Run on Server (or using Alt+Shift+X, R).
- Select the exising Oracle WebLogic Server in the localhost (if you did not install this server, see the previous lab).
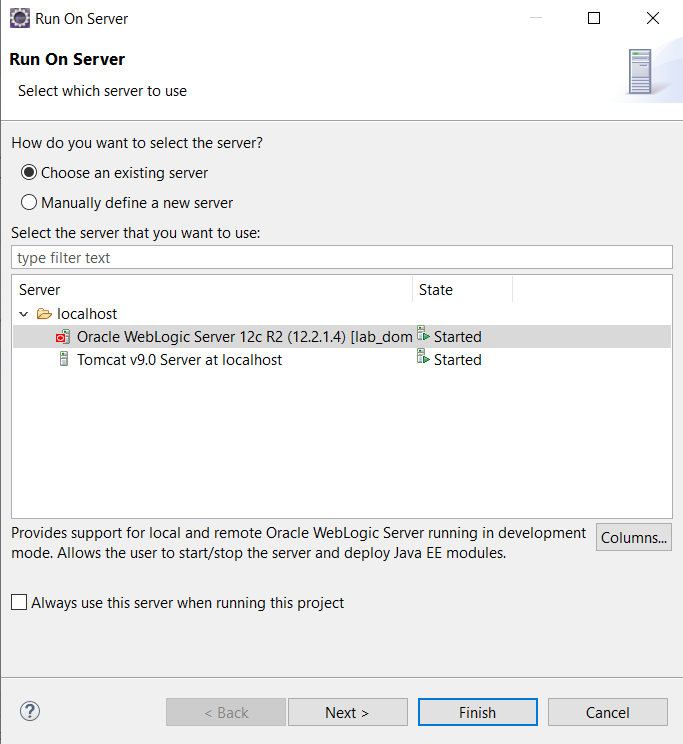
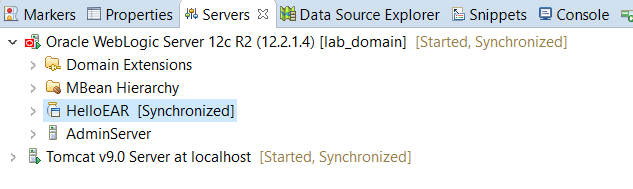
- Click Next → Finish. The server now starts your application and a WebLogic Test Client appears to allow you test your application
- login using the username and password you created during the configuration step
- click on test
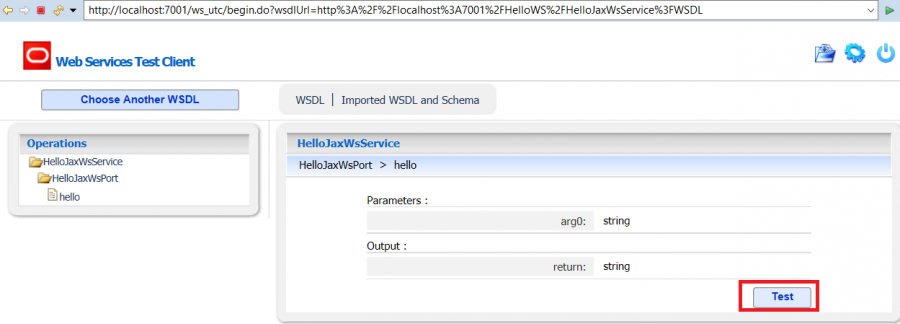
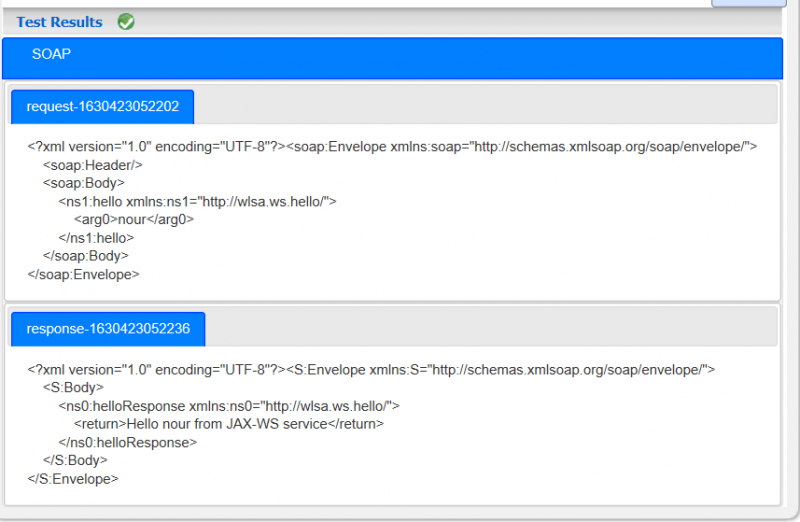
- Type something in the input box and click invoke.

- You can see the request sent and the response
- You can check that the service's WSDL file at http://localhost:7001/HelloWS/HelloJaxWsService?WSDL
- Done.
