Table of Contents
Designing and running the "Request for absence" process model
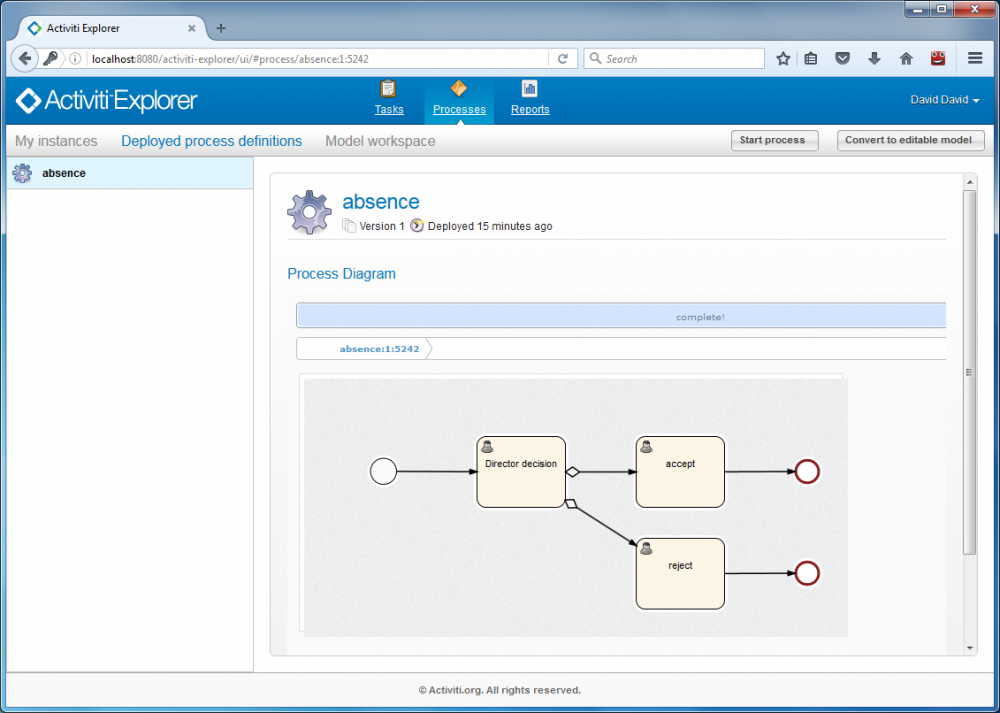
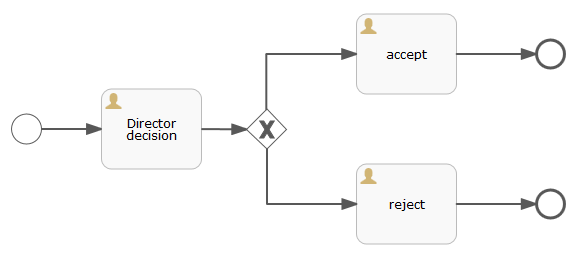
In this tutorial, we will design a simple process model which presents a “Request for abscence” process. Then we deploy and execute it.
Designing your own organization
- Before designing your process models, you should define the groups and individual users.
- Start your tomcat by executing apache-tomcat-7.0.12\bin\startup.bat (Windows) or apache-tomcat-7.0.12\bin\startup.bat (Linux).
- Open your browser and go to http://localhost:8080/activiti-explorer/.
- Login as admin with kermit/kermit, then select Manage→Groups.
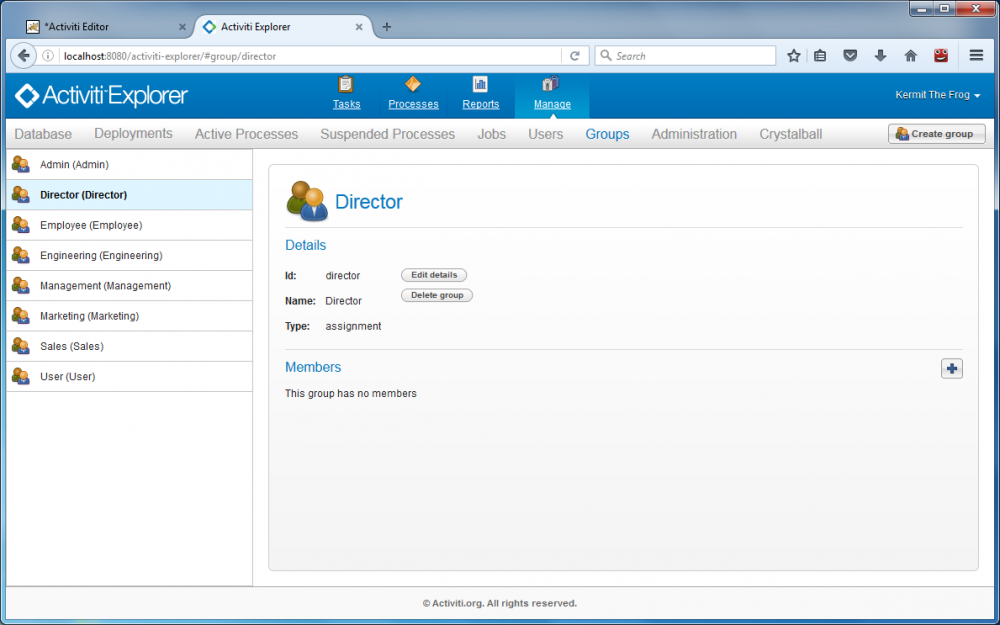
- Click on Create group to add a new group to your organization and enter Id: employee, Name: Employee. Click Create group.
- Select Manage→Users.
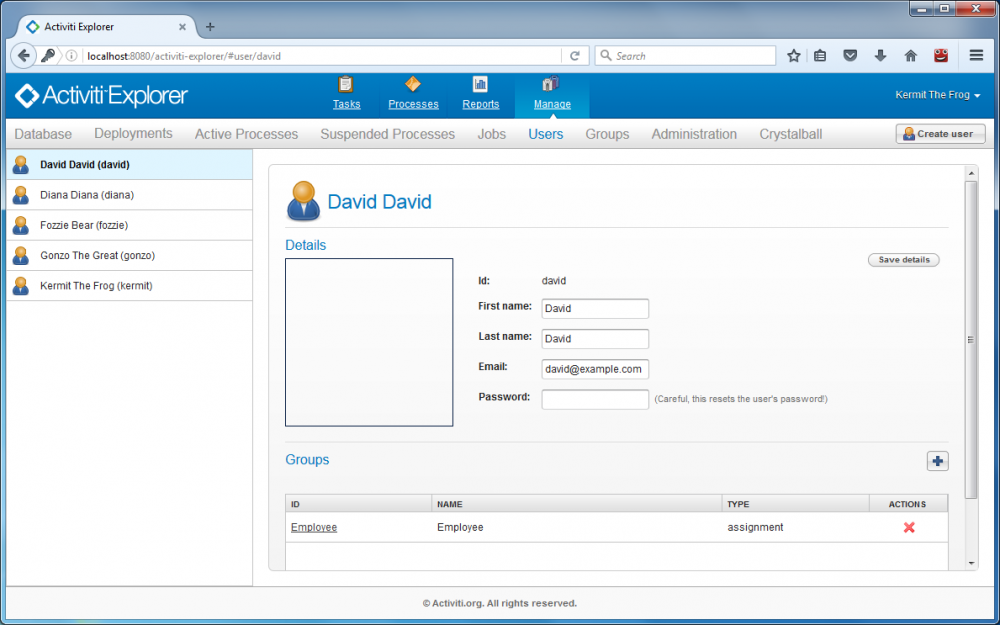
- Click on Create user to add a new user to your organization by giving Id: david, Password: david, First name: David, Last name: David, Email: david@example.com. Click Create user.
- Click on the + sign to select the group Employee for David, then click Select.
- Let begin designing the Request for absence process model!
Designing a process model
- In Activiti, select Processes→Model workspace→New model.
- Enter new model Name: Request for absence. Click Create.
- Firstly, enter the following process properties:
- Process identifier: absence
- Name: Request for absence
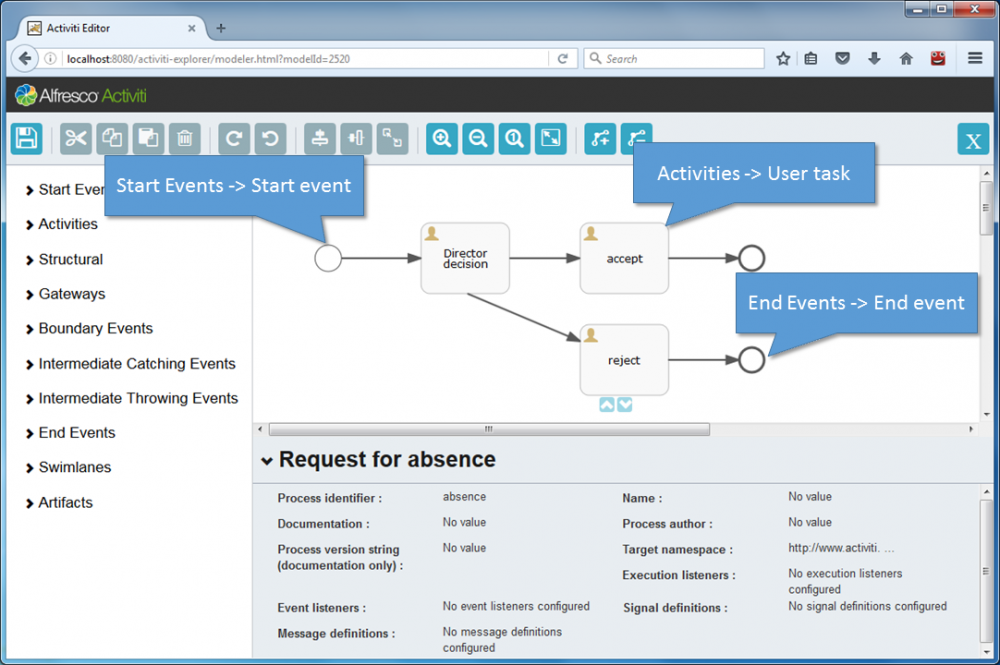
- On the start event, specify the following properties:
- Initiator: initiator
- Form properties:
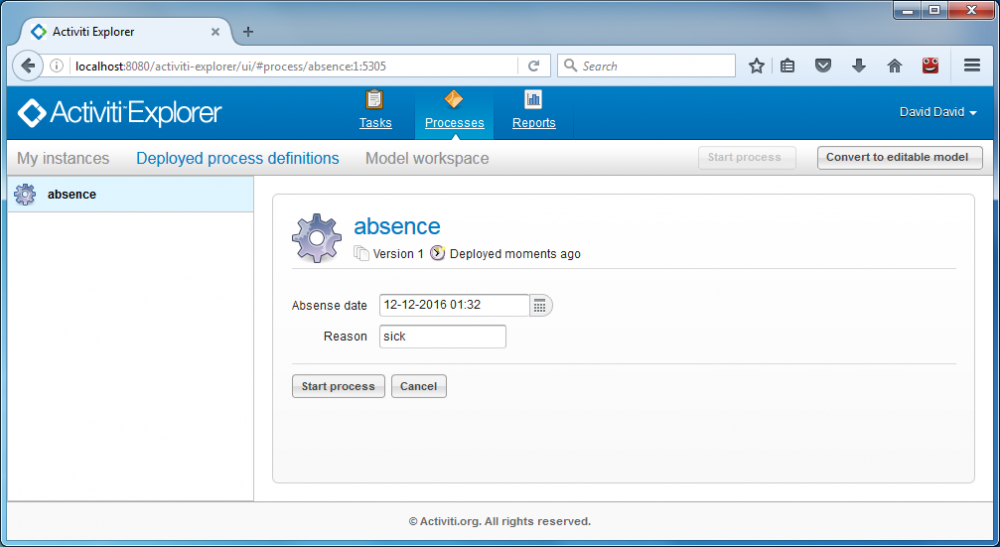
- id: dateToAbsense, Name: Absense date, Type: date
- id: reason, Name: Reason, Type: string
- On the Director decision activity, specify the following properties:
- Assignment→Candidate groups: director
- Form properties:
- id: initiator, Name: Employee, Type: string
- id: dateToAbsense, Name: Absense date, Type: date
- id: reason, Name: Reason, Type: string
- id: approval, Name: Approval, Type: boolean
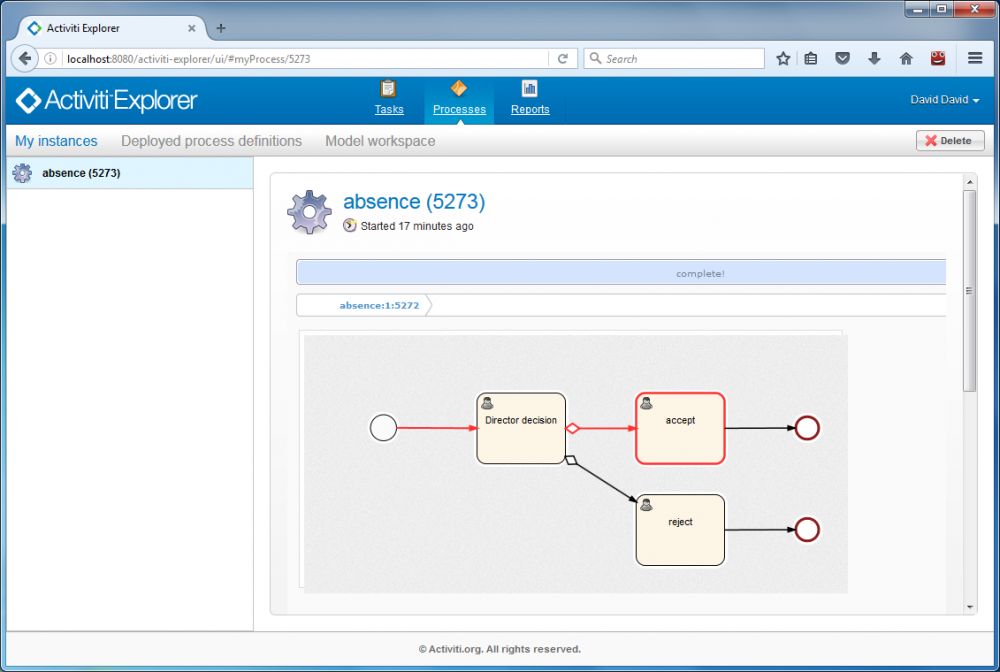
- On the sequence flow from Director decision to accept, specify the property Flow condition: ${approval == 'true'}
- On the sequence flow from Director decision to reject, specify the property Flow condition: ${approval == 'false'}
- On the accept activity, specify the following properties:
- Assignments→Assignee: ${initiator}
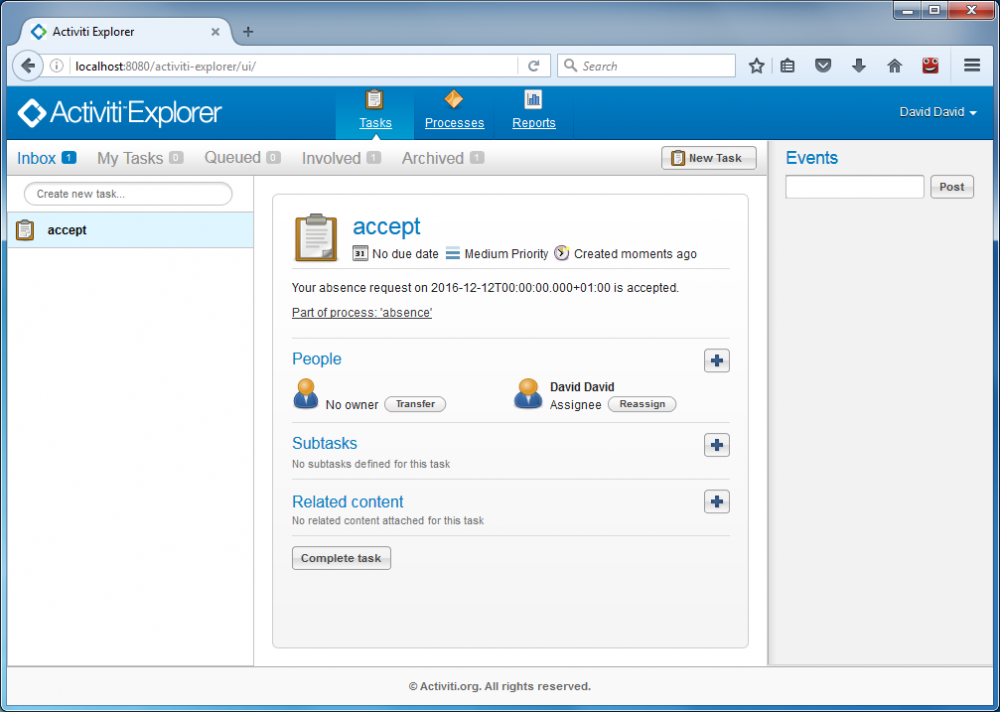
- Documentation: Your absence request on ${dateToAbsense} is accepted.
- On the reject activity, specify the following properties:
- Assignments→Assignee: ${initiator}
- Documentation: Your absence request on ${dateToAbsense} is rejected.
- Click on Save the model icon, then click on Save and close editor.
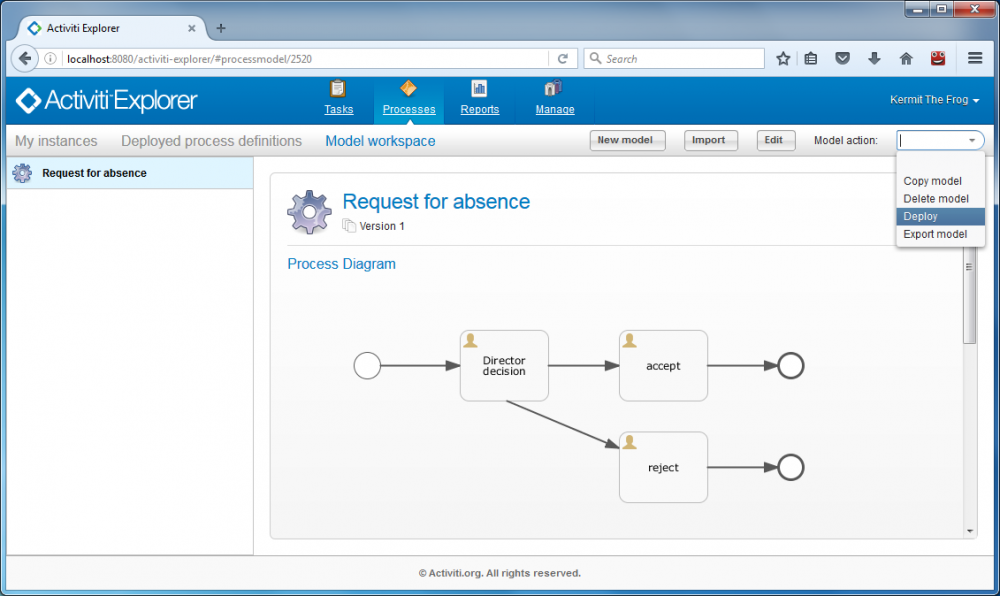
- Now your process model is ready to be executed! Next section will show you how to execute such process model.
- Note that if you want to modify your process model, make sure to delete your deployed process model by going to Manage→Deployments→Show all, select the model then click on Delete button. Then, you can modify and redeploy your process model.
Executing a process model
- Logout and login as employee with david/david, then select Manage→Groups.
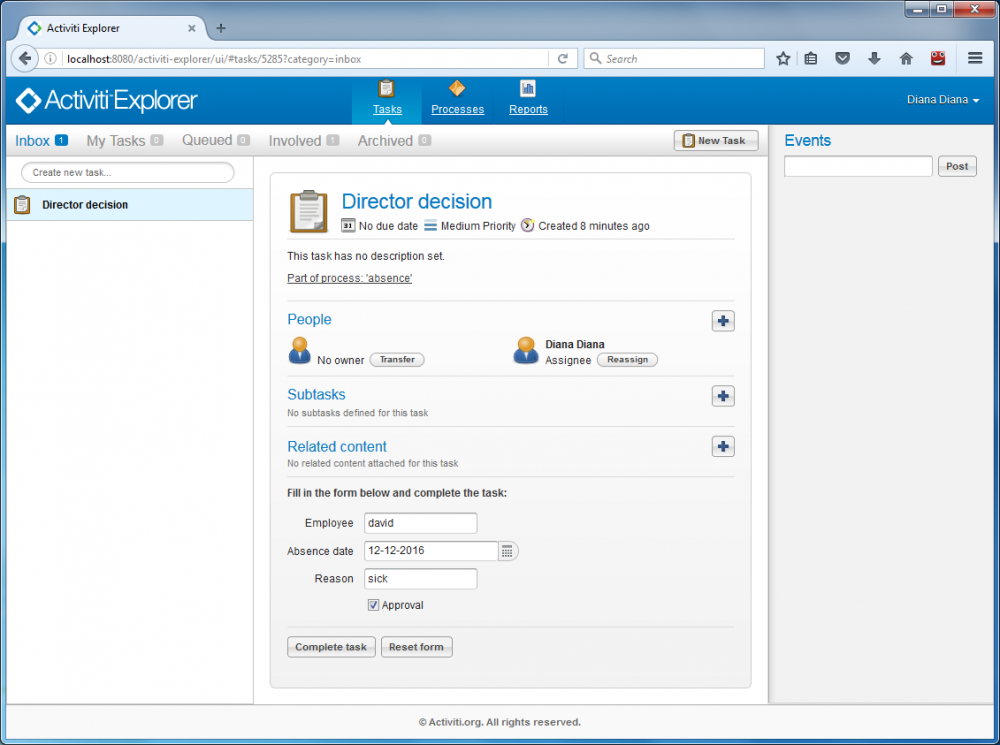
- Logout and login as director with diana/diana, then select Tasks→Queued→Director.
