The first Restlet web service: "Hello world!"
In this lab, we create a simple RESTful service that returns a String “hello, world” when a client request the “http://[serverURI]/hello” resource with a HTTP/GET command. The lab is based on the Restlet framework.
This is the first tutorial to see how Restlet framework receive client requests and reply to them.
- Download and extract the restlet framwork. Make sure to choose Other Editions and select JAVA EE. This lab uses the current stable version 2.4.3.
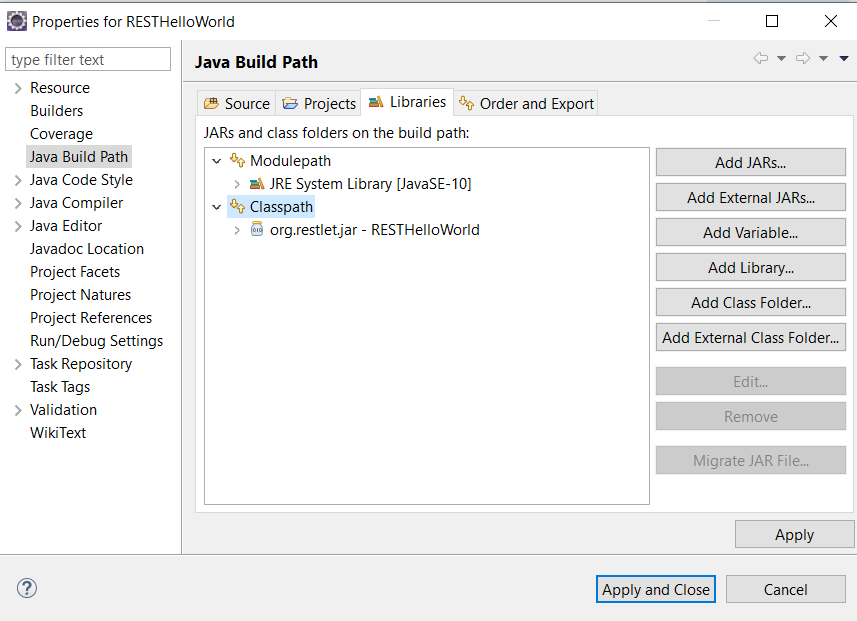
- Copy the org.restlet.jar file to the Java Project.
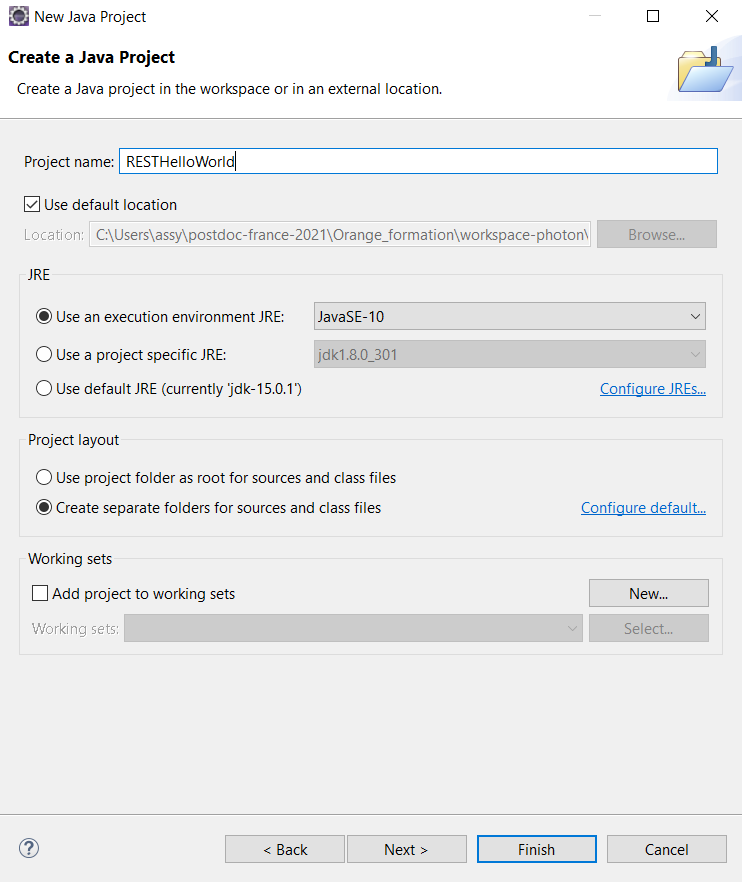
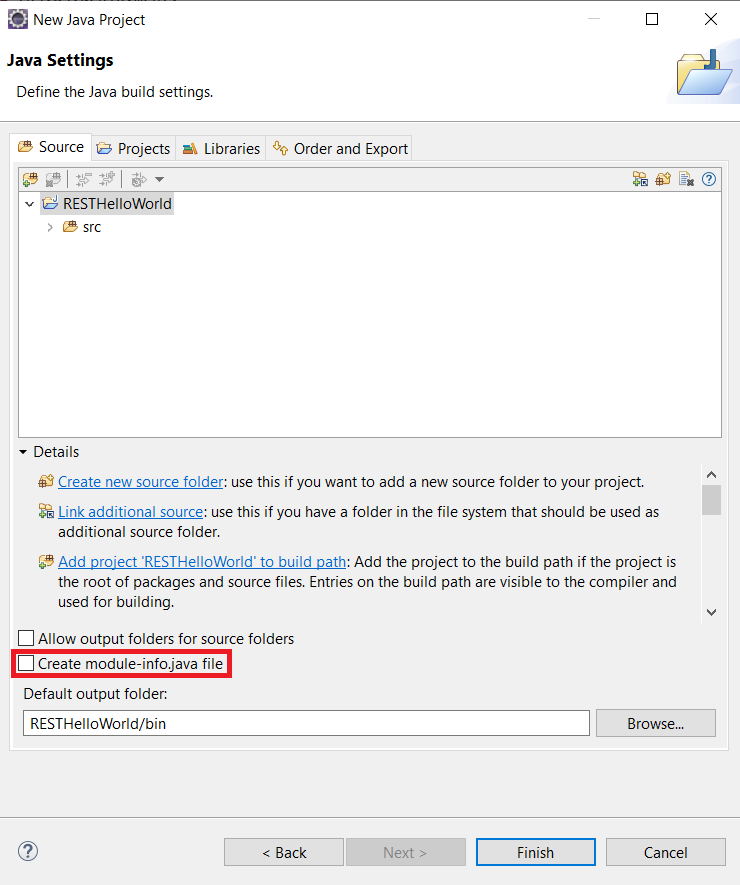
- Fire out the preparation step.:D. Next, create a Java package, named “firstREST” for example under the src folder, and a Java class named HelloWorld.
- Add the following source code to the Java class:
package firstREST;

import org.restlet.data.Protocol;
import org.restlet.resource.Get;
import org.restlet.resource.ServerResource;
import org.restlet.Server;

public class HelloWorld extends ServerResource{

	/**
	 * @param args
	 * @throws Exception
	 */
	public static void main(String[] args) throws Exception {
		// TODO Auto-generated method stub
		// Create the HTTP server and listen on port 8182
		new Server(Protocol.HTTP, 8182, HelloWorld.class).start();
	}

	@Get
	public String present(){
		return "hello, world";
	}

}
- Have a look on the code and if it is clear, let's start the server by “Run → Run As → Java Application” (or Alt+Shift+X, J).
- Open the web browser and type: “http://localhost:8182/hello”. If you get “hello, world”, congratulation.
- The resource can also be retrieved via a Java client. Let's create a new package named “client” and a Java Class name ClientCall inside this package.
- Edit the ClientCall.java by the following code:
package client;

import java.io.IOException;

import org.restlet.resource.ClientResource;
import org.restlet.resource.ResourceException;

public class ClientCall {

	/**
	 * @param args
	 */
	public static void main(String[] args) {
		// TODO Auto-generated method stub

		// Create the client resource
		ClientResource resource = new ClientResource("http://localhost:8182");

		// Write the response entity on the console
		try {
			resource.get().write(System.out);
		} catch (ResourceException e) {
			// TODO Auto-generated catch block
			e.printStackTrace();
		} catch (IOException e) {
			// TODO Auto-generated catch block
			e.printStackTrace();
		}
	}

}
- Right-click on the ClientCall java class and select Run → Run As → Java Application. If you get “hello, world” again, congratulation.
- Now, it's time to move to the next tutorial.


